My photo
Boz Towers, Essex, United Kingdom
I'm a Red Hat Society member with a love of crafting of all sorts. A very proud mum to four fabulous children and Nan to six gorgeous grandchildren. I started work as a milliner and now have an abiding love of scrapbooking and card making.

The lovely people that drop by ~ thank you.

Monday, 14 November 2011

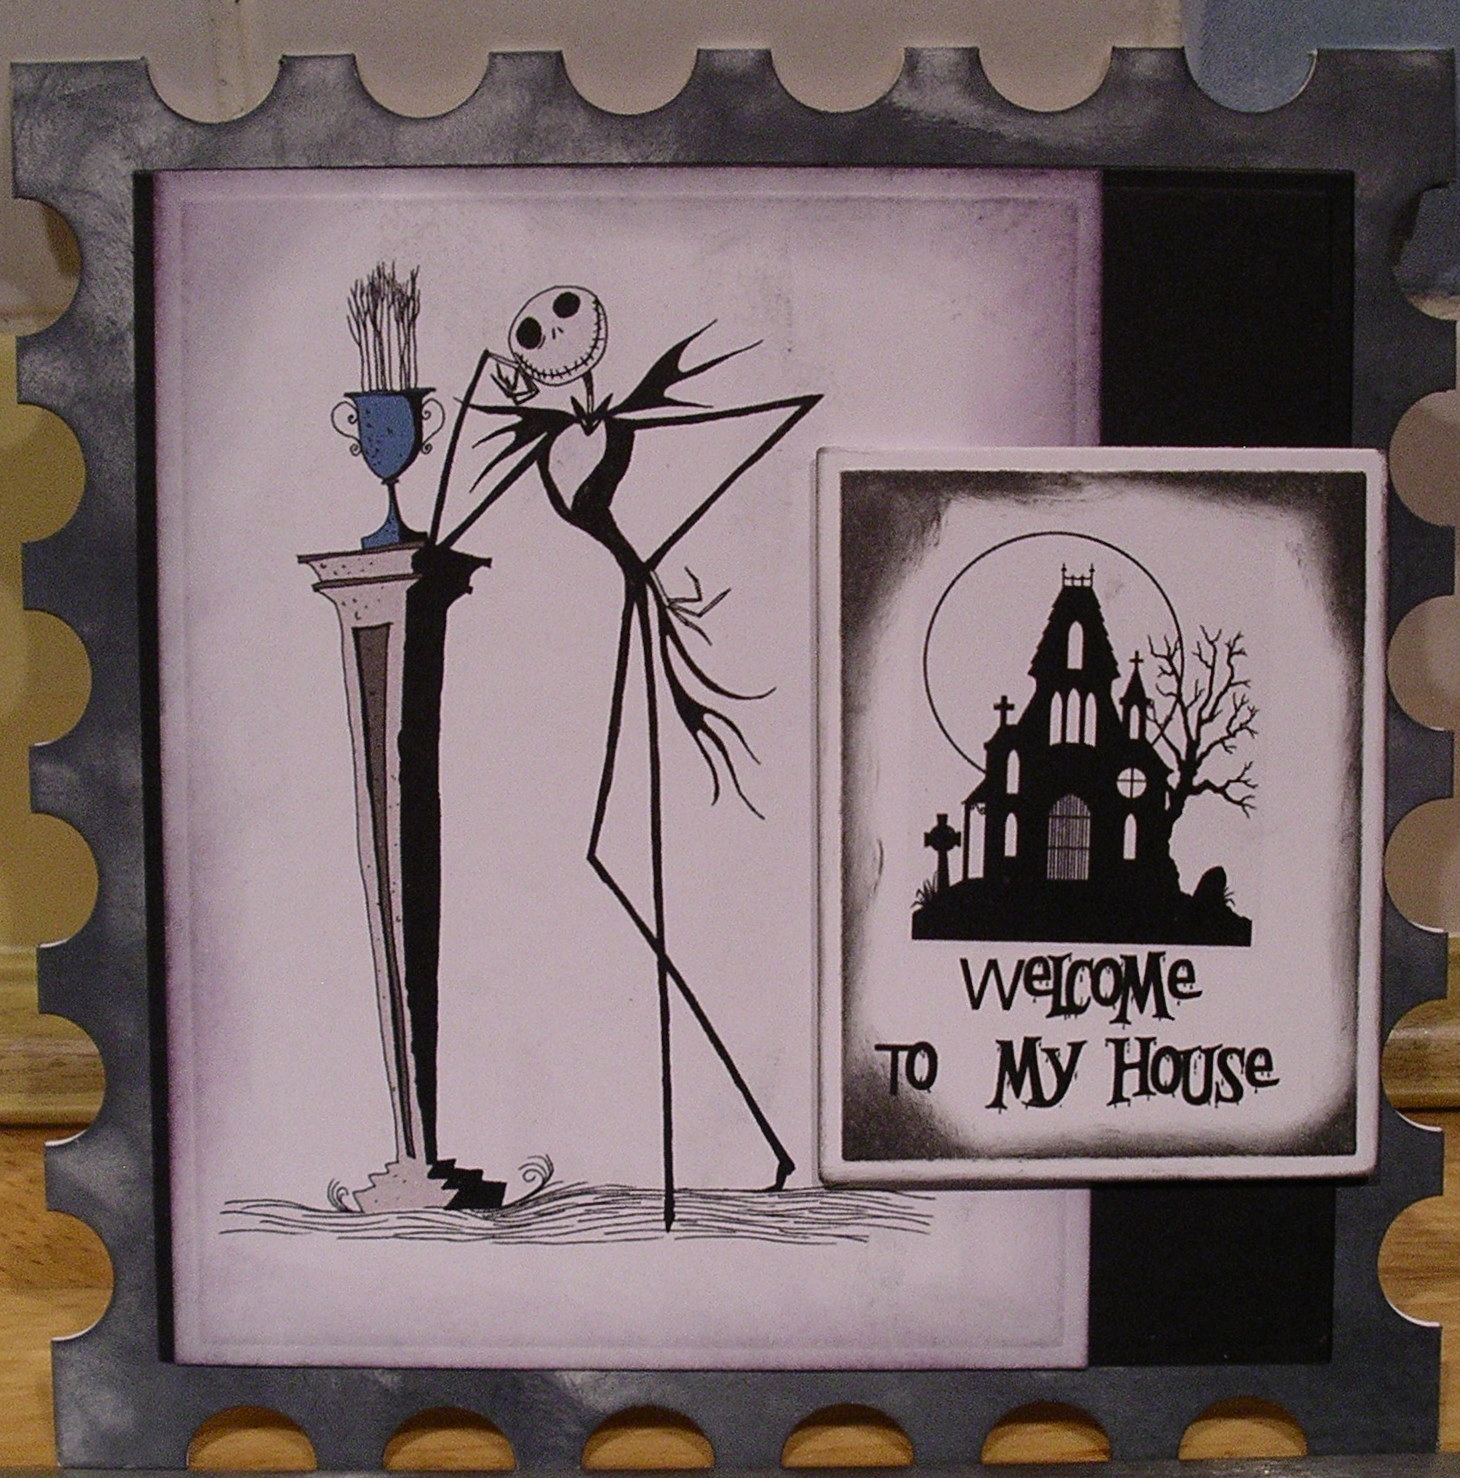
A Birthday Card for Paul

It's my treasured eldest son's birthday on the 18th.  I can post it here because I know he won't visit my blog!!  I'm keeping my fingers toes and eyes crossed as Paul has a scan on Thursday to see if this bout of RT has helped.

I lifted the idea for this card from the Hunkydory magazine as they were featuring the set that it came from.  I gave lots of pieces from this kit to my grandson who will, hopefully, one day  make himself a grungebook.

The card is from SU and the kit from Hunkydory is called 'Bygone Times'. I save postage stamps for a horse sanctuary in Lincoln called 'Bransby Home of Rest for Horses and I shuffled through the saved stamps and found a few with the colour tones of the card. Load of Antique Linen Distress Ink too  I'm sure he's going to find it a bit different from the usual.


I would like to enter this card into the following:

Sunday, 6 November 2011

Countdown to Christmas at Creative Craft World - Day 7

Here's my offering for Day 7 on the Creative Craft World Blog


Christmas Chocs ( to be filled with your choice of choccies)


Douw Egberts empty and clean coffee jar (200gr)
8.5cm wide piece of 12 x 12 card or paper.
2 dies of choice,  I've used Spellbinders Labels 23)
1 piece of matching/toning card or paper for the larger die
1 piece pale card for the greeting.
strong double sided tape
Ribbon and embellishments of your choice
Chocs!! Lots of!    2 paperbacks (you'll see!)

The colours I've chosen for my jar match the Elizabeth Shaw Mint Crisps inside. I've used a Douw Egberts coffee jar as the labels come off quite easily and the 12” strip fits without any cutting. Any left over strips of 12" x 12" card or paper can be used, it's good way to use up those spare pieces. 


 Don't worry too much about getting every bit of glue off from the label as a small amount will act as an anchor for the wraparound, if you keep the glue at front it will be hidden by the label or your decoration.


Step 1
Place the two paperbacks down on your workspace to hold the jar in place to stop it rolling around. Wrap the 8.5 cm card/paper around the jar and you will find that it almost meets. Secure in place with strong double sided tape. Don't worry if it is a tiny bit short, the join can be hidden with peel-offs.


Step 2 
Attached your largest die cut to the front with tape and a slick of glue stick so that it can be positioned perfectly. Print off a sentiment of your choice, I've used a free font called Paris Match Bright free from Fontspace. Die cut the sentiment and place on top of the larger die cut as before. I have tried before to lay everything flat and place the die cuts on the band but they have pinged off when placed on the jar. (techie term there!).


Step 3
Run a small piece of narrow tape onto the lid of the jar to hold the ribbon in place and tie a bow at the front or make a bow and attach.  I'v tied a bow on the Bow-Easy and glued it on top of a hand tied bow

Embellish to your hearts content.

Any chocolates will look gorgeous in these jars and even the 100gr DE coffee jar can be used for smaller gifts and sweets.
Saturday, 5 November 2011

Christmas Blog Look

Given the blog a little dab of paint and hung up some deccies

Where Has the Time Gone??

It was No 2 granddaughter's birthday recently and the time since she was tiny has gone so quickly.  This the card I made for her.

Another lovely image from LOTV, flowers from Wild Orchid Crafts. The DP is from First Edition but I can't remember which one. I was really pleased with it.  It sits on her fairy shelf. Aw!

Heaps of stuff!

Shock! Horror! Gasp!! I haven't posted on the blog for nearly 5 weeks or so, family life happenings.

A few cards to post but most precious are the Halloween cards made for my grandchildren whom I adore.  The images are from Stitchy Bear Stamps and my grandson from a freebie scrapbook digi set.  The spider ribbon is from Sharons Stamp Simply Store.  If you visit, be warned, she has the most beautiful things and there's a sale on.


and for my grandson, who I don't think would have appreciated the above style, something a bit different.


Tuesday, 27 September 2011

Parchment Challenge

Our smashing MSE friend, Jenny (aka Dragonllew) is one of the first people to usually leave a lovely comment on my posts.  I follow her blog too and noticed that she had made a card with parchment as part of her role on the DT of C.R.A.F.T. Challenges 

After seeing Jenny's beautiful card I thought I'd have a go.  Well, it didn't turn out too well so I'm not showing that and then I had one of those light bulb moments and used a die called Anemone Flower Topper from Spellbinders. I used an embossing tool on the inner petal to make the flower more opaque.  It reminds me of a waterlily.
 
I hope they like it. It turned out to be just the sort of card a good friend likes, clean and simple.   Rotten light, sorry!

I'd like to enter this card into the following

Thursday, 22 September 2011

Thank You.

I've just posted this card off to my son, Paul.  He is undergoing radiotherapy to treat a lung tumour and rid his head of any little seedlings from a brain tumour he had removed in July.  This is the second bout of cancer he has had in the last six years and we are hoping and praying that he will come through.

This card is for his radiotherapy team at the Kent Oncology Centre in Maidstone.

I've used some SU paper that's a couple of years old and Nestabilities Label Four.

Monday, 19 September 2011

Last Days of Summer Light


Its a beautiful warm and sunny day here in the backwaters of Essex and I love taking photos in natural light.   It won't be long before I won't be able to take picture for my blog in the garden anymore, such a shame!

I love these papers called Summer Breeze from First Edition and they fit perfectly for the current challenge called 'Colour Combo' on the Craft Your Days Away challenge blog.  The sweet image is from Lily of the Valley and I shaped it with a Spellbinders Labels 22 die and used dies from Carnation Creation and Anemone Flower Topper set for the flowers.

I'd like to enter this card into the following:-

Craft Your Days Away Challenge 29 ~ Colour Combo
Card Cupids Challenge 29 ~ Anything Goes
The Corrosive Challenge Blog #133 ~ Punches and/or Dies
The Squirrel & The Fox ~1 ~ Anything Goes
Creatalicious Challenges - Challenge #26 ~ Anything Goes
Cute Card Thursday Challenge # 182 ~ Anything Goes

Friday, 16 September 2011

By the seaside, beside the sea!

My talented chum Choccy asked me to be a guest teamie over at Creative Craft World on the latest challenge for creating something 'New'.  Well, as I live near the water and can see the beach huts at West Mersea (on a clear day and a strong telescope!) I just had to try and do justice to this fab digi image from the sponsor, The Crafty Pad Designs.


The background paper is from the Nitwit Collections ~ Sandcastles Collection and coloured with Promarkers  and Flexmarkers.  Do you like the flip-flops instead of slippers?????

I'd like to enter this card in the following:
Digi Designs Challenge Blog ~ Anything Goes 
Catch The Bug Challenge Blog ~ Let's Create a Scene
I Did It Creations Challenge #73 ~ Beach

Friday, 9 September 2011

A re-jig of an old card

I made a similar card for my lovely mother-in-law for her birthday last year but I do love the colours of these Ella Blue papers and also the vintagy feel of this image.  Challenge 28 over on the Craft Your Days Away blog is Hand-Made Flowers.  I couldn't resist! The image is a stamp from Clarity Stamps and is one of my all-time favourites. I've die cut the stamp with Spellbinders Labels Four and mounted that onto paper from Tim Holtz Vintage Shabby pad.  I used the Spellbinders Rose Creation dies to cut the flowers and leaves from the same Tim Holtz paper stack.  The organza frilly edge ribbon is from Create and Craft TV.  Another favourite Marianne die was used for the flourish.

I would like to enter this card into the following:
Craft Your Days Away Challenge #28 Make Your Own Flowers
Anything Goes Challenge Blog ~ Vintage/Shabby Chic
Ribbon Carousel Challenge RCC19 Anything Goes with Danielle Daws
Craft Your Passion Challenge #74 ~ Flowers
Crafty Boots Challenges ~ Anything Goes
Incy Wincy Designs: Challenge 110 ~ Make Your Own Flowers
Woodware USA Clear Stamps Challenge #42 ~ Anything Goes
Mariannes's Design Divas ~ Anything Marianne Goes